
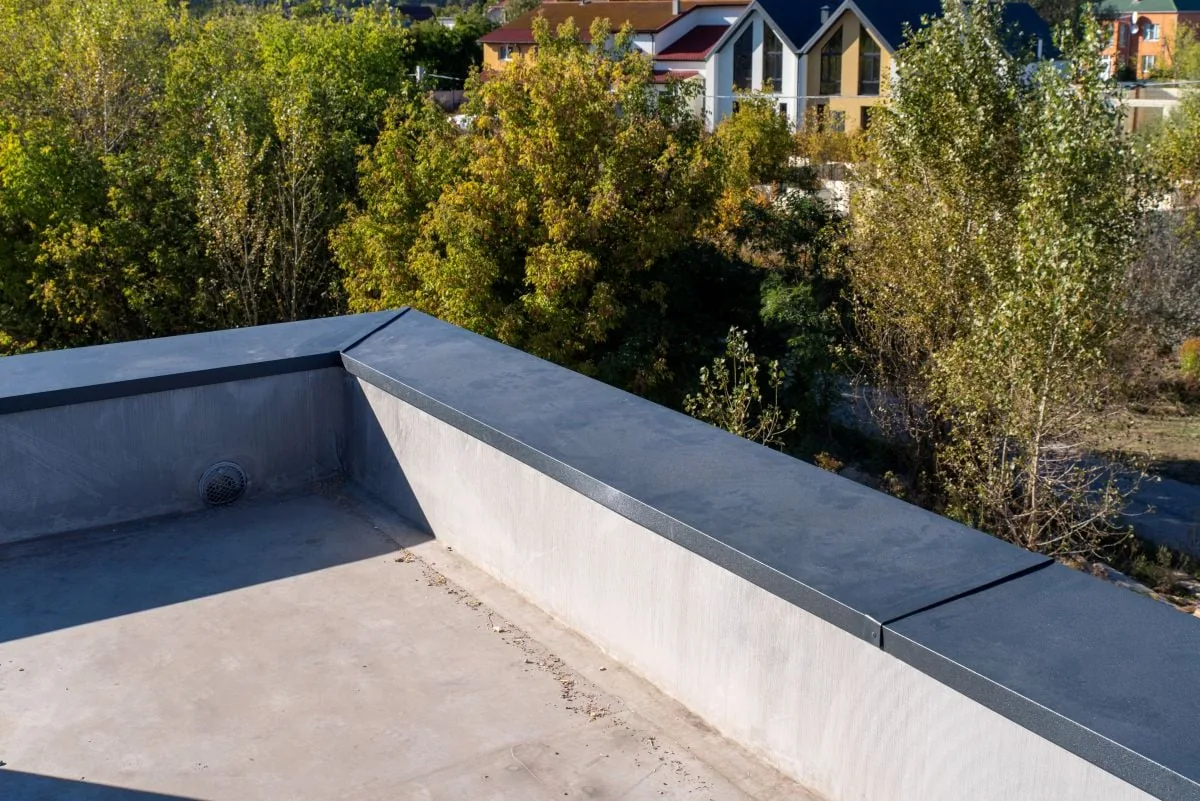
Commercial Roof Flashing Failure Repair in Westminster, CO
Repair failed commercial roof flashing in Westminster by tracing the water path, checking adjacent materials, and documenting a compatible detail.
Commercial Roof Flashing Failure Repair
A split at a wall or curb transition gives water a route past the roof surface. Start by identifying the roof system, the flashing material, and the condition of the nearby membrane or metal. Photograph the transition before removing it. The repair boundary depends on what is loose, cracked, separated, or wet, not only on the interior stain.
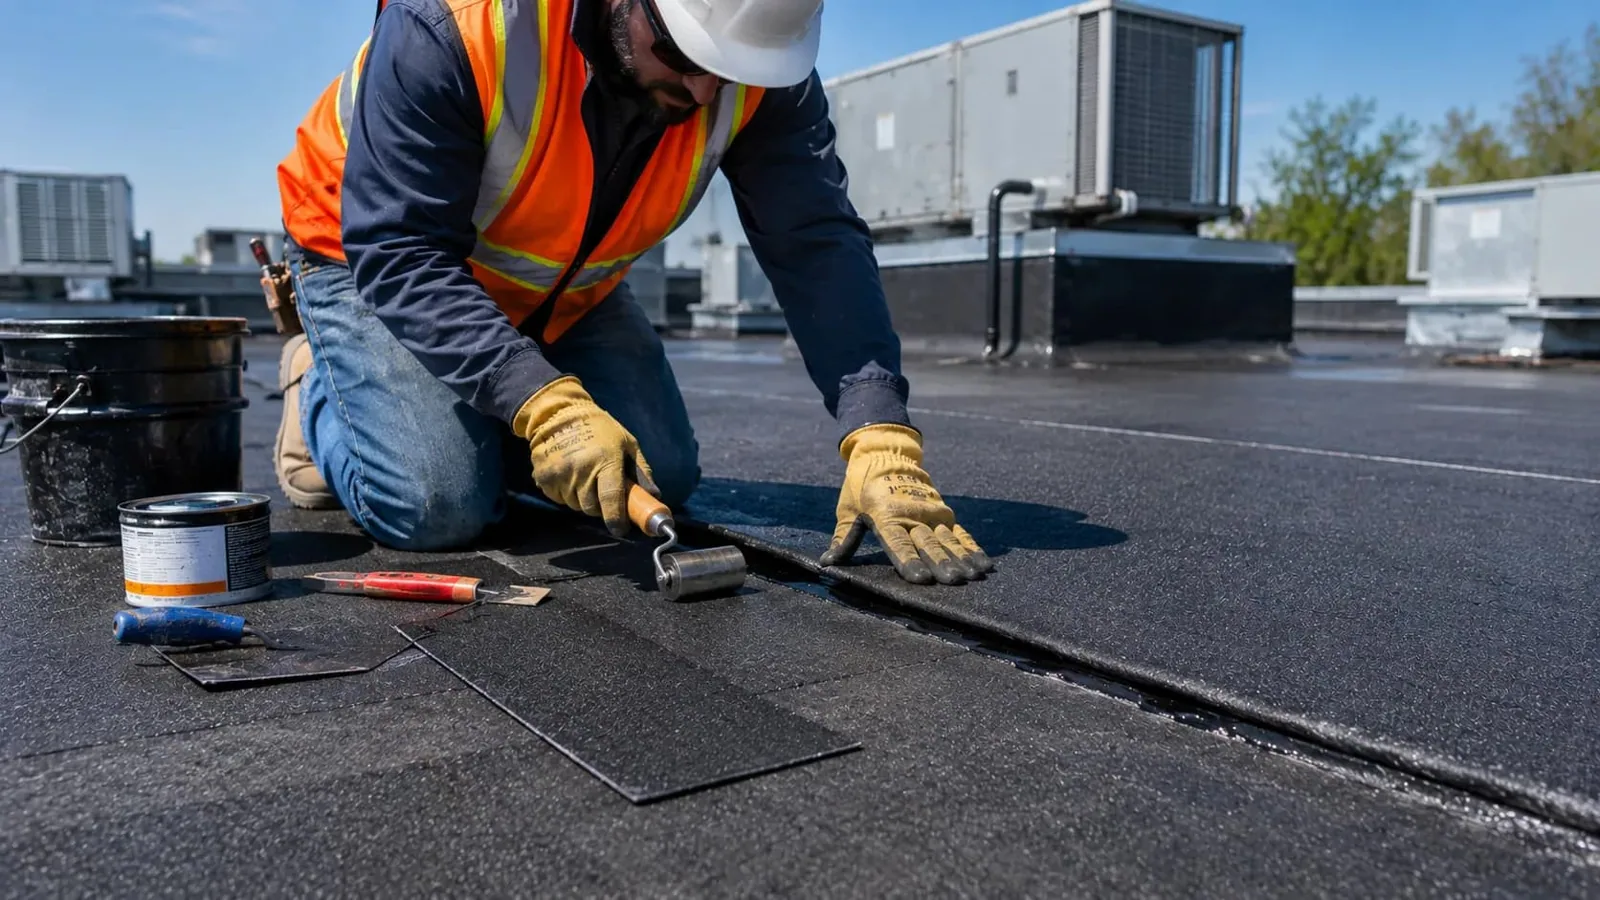
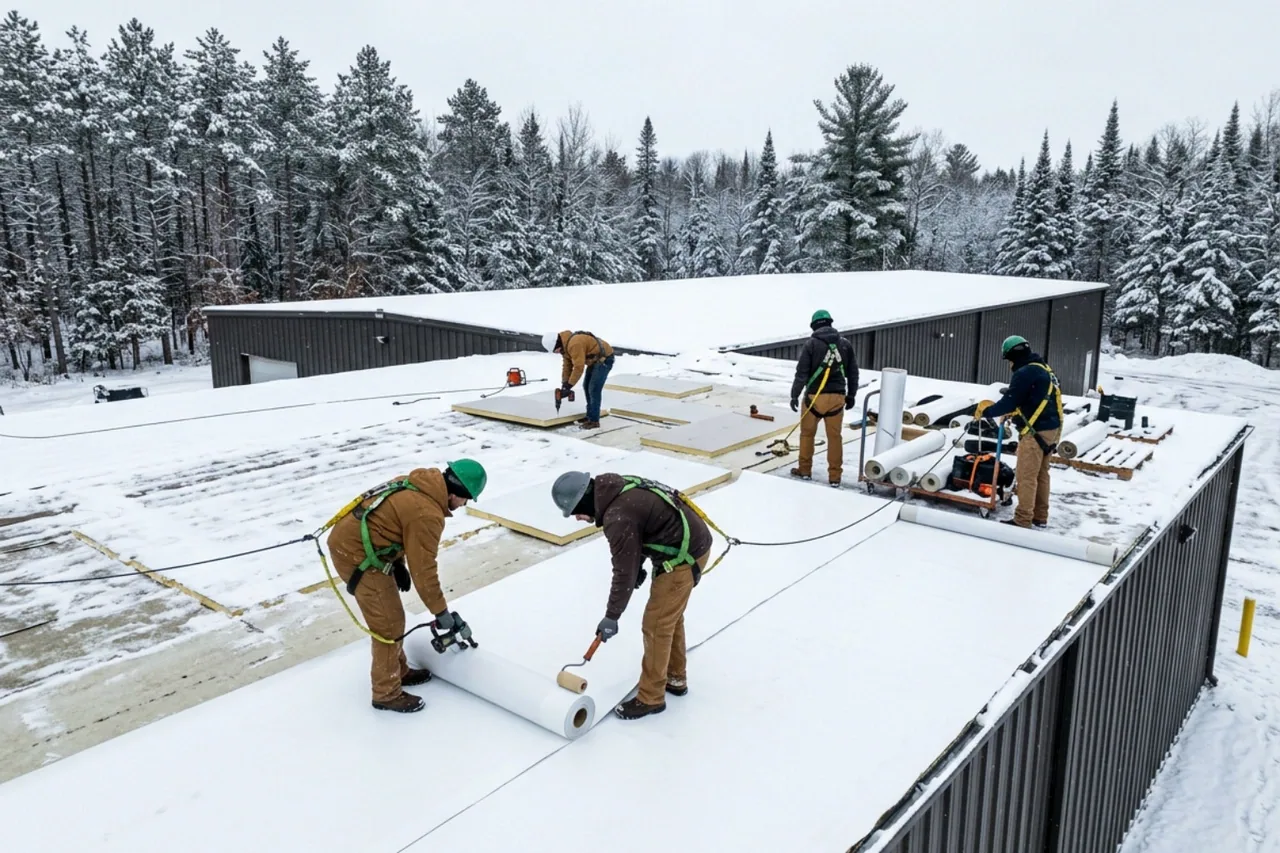
Find the failure at the transition
Inspect termination bars, counterflashing, metal coping, pitch pockets, pipe boots, curbs, and roof-to-wall joints. Look for open laps, pulled fasteners, cracked sealant, exposed reinforcement, or movement where materials meet. A failed surface seal can hide a larger separation underneath, so record the height, length, attachment, and nearby drainage condition.
Westmoor Technology Park and Circle Point are office campuses in Westminster's U.S. 36 area. Their building uses do not establish flashing details. Each roof needs its own inspection map, system identification, and access plan. A Circle Point roof visit records the transition on the specific building that is open for inspection.
Temperature changes, wind, and equipment vibration can stress a joint. Review the adjoining material for movement or prior repair layers before selecting a sealant or membrane tie-in. If the substrate is wet, loose, or concealed, include a test opening rather than covering the condition with new material.
Match the detail with the interior report
Water can follow a wall, curb, or deck before showing up indoors. Record the room, weather, timing, and any change after a prior repair. Compare the interior mark with the nearest flashing, drain, penetration, and seam. The report should identify which observations support the suspected path and which areas remain unconfirmed.
A commercial roof inspection can document the transition, adjacent membrane, edge, and drainage. For active water, a leak response may install temporary protection before a permanent detail is rebuilt. List those actions separately, including any area that could not be safely accessed.
Do not seal a suspect joint until its surface and attachment have been checked. New sealant over loose material may conceal the separation without restoring the assembly. Photograph the original condition, removal, substrate, and completed detail so the owner can compare the repair later. If the separation follows an adjacent lap, inspect the seam and flashing as connected details but record each repair boundary. A seam failure check can help determine whether the water path extends beyond the termination. Keep measurements tied to the plan so the repair quantity can be reviewed without estimating from a close-up photo alone.
Choose compatible flashing materials
Flashing must bond or mechanically tie into the existing assembly. Confirm membrane type, metal, coating, substrate, and existing repair products before selecting materials. TPO, PVC, EPDM, modified bitumen, coatings, and standing seam metal each have different compatibility and installation requirements. If the system cannot be identified, test or review records before committing to the repair.
A penetration flashing repair can address a defined curb or pipe detail. At a wall, parapet, or roof edge, confirm termination, counterflashing, and water-shedding direction. The proposal should state whether metal is reused, replaced, or modified and how the new work meets the existing field.
If multiple repair layers are present, note them before removal. Concealed fasteners, wet insulation, or a deteriorated substrate can change the required scope. The owner should receive the condition found and any approved change before the crew extends the boundary.
Inspect transitions after snow and wind
Snowmelt can reveal a flashing gap that stays dry during warm weather. For flashing-repair work, check scuppers, overflows, and parapet corners as one path; keep photos attached to the correct roof-zone record. Inspect the actual edge and report water path, retained debris, and visible separation.
Wind can lift metal or pull a termination away from its substrate. The Denver/Boulder forecast area is also exposed to hail, thunderstorms, and tornadoes. A warning can prompt inspection, but only observed movement supports the repair. A wind damage review may document a loosened edge separately from a pre-existing flashing gap.
When ice, wet surfaces, or high wind make access unsafe, postpone the roof walk and protect an active interior leak from an approved location. The report should identify the access limit and the return visit needed to inspect the detail.
Inspect a failed flashing detail
Send the roof plan, interior report, transition photos, system records, and access contact. We will document the failure and define a compatible repair scope.
Rebuild the detail instead of hiding it
Remove failed material only as far as needed to reach sound attachment and substrate. Clean and prepare the surface according to the system requirements. Reinstall flashing with proper laps, securement, termination, and a compatible tie-in. The repair should shed water toward the drainage path rather than create a pocket.
If the surrounding roof is wet or deteriorated, a small flashing repair may not resolve recurring water. Test the adjacent assembly and show the repair boundary on the roof plan. A commercial repair proposal should list measured length, materials, access, temporary protection, and any concealed condition excluded from the price.
Westminster enforces the 2021 International Building Code and Energy Conservation Code. Permit history and project documents determine whether a repair or larger alteration requires review. Keep product data and installation photos with the maintenance file so a later crew can identify the materials and limits. For a long parapet or wall transition, break the work into measured sections and mark corners, changes in height, and interruptions from mechanical supports. The labor plan may need separate treatment at each change of plane. If a detail is concealed by siding or a counterflashing, state whether removal and reset are included before the project begins.
Recheck the joint after the repair
Closeout photos should show the transition before and after work, including the termination and adjoining roof field. Label the wall, curb, or roof zone and record the repair date, material, and work limits. Note any area that was not opened or any adjacent condition that needs monitoring.
After the next rain or snowmelt, check the same interior report and roof detail. If water returns, compare the new observation with the prior repair boundary and inspect adjacent seams or penetrations. Do not repeat a surface seal without identifying why the rebuilt detail failed.
Keep drainage maintenance, wind damage, and flashing repairs as separate entries unless inspection ties them together. The building owner can then see what was repaired, what remains open, and when to schedule the next check. Add a responsible contact for any sealant or adjacent finish that another trade must restore. Use the same photo angle during that visit so the repaired edge can be compared at a glance.
At a wall or curb transition, confirm whether the flashing is bonded to sound material and whether the termination remains secure. A small opening can admit water beyond its visible edge. Photograph the detail before preparation, then capture the completed tie-in and any adjacent condition left for later work.
Commercial Roofing Questions
What causes commercial roof flashing to fail?
Movement, weather exposure, poor attachment, aging material, or a disturbed penetration can open a transition. The inspection identifies the detail and adjacent conditions.
Can new sealant fix a leaking flashing joint?
It may help only when the surface and attachment are sound and the material is compatible. Loose or wet layers need a repair that reaches the failure.
How do you confirm the flashing is the source?
Compare the interior timing with roof plans and inspect the likely transition, nearby seams, drains, and curbs. The report separates observed facts from unconfirmed paths.
Will the repair match the existing roof system?
We identify the assembly and select compatible materials. If the system or prior repair layers are unclear, records or testing may be needed first.
What should be included in flashing repair closeout?
Keep before-and-after photos, transition location, material used, repair length, limits, access notes, and the date for any follow-up check.
Related Roofing Work
Circle Point
Read more
Commercial Roof Inspection
Read more
Commercial Roof Leak Repair
Read more
Commercial Roof Seam Failure Repair
Read more
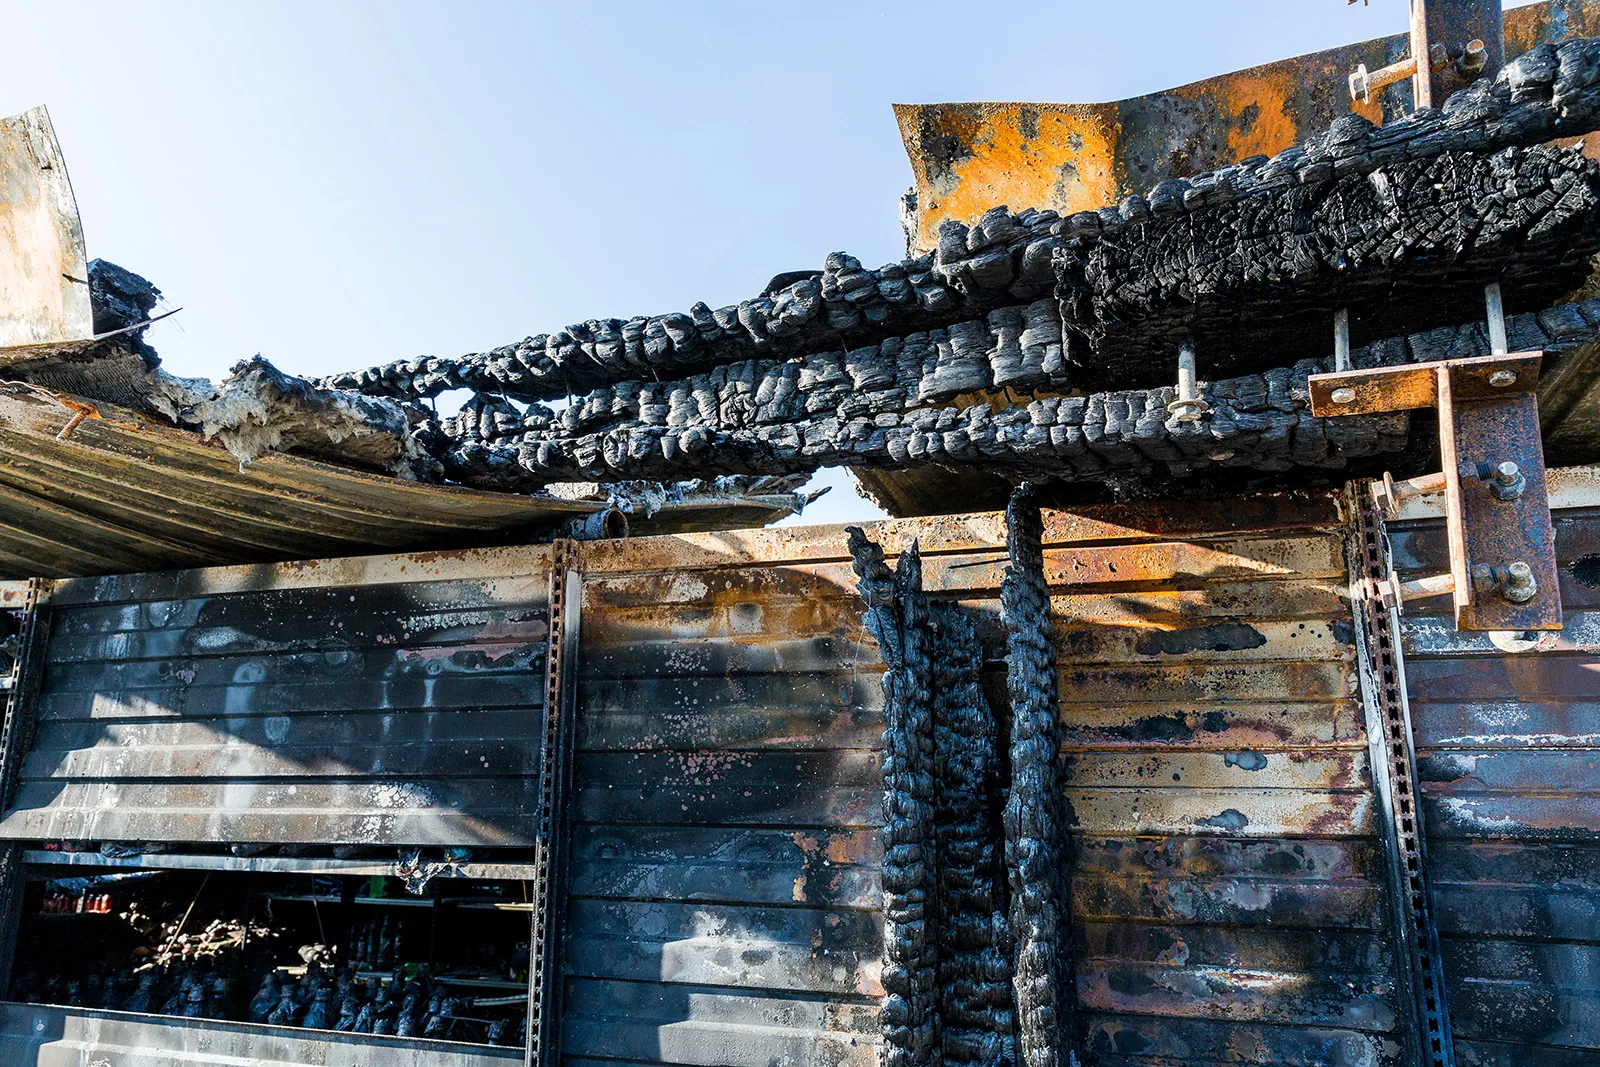
More Roof Damage Repair in Westminster
See the rest of our roof damage repair for Westminster commercial buildings, or call 555-555-5555 to talk through your roof.
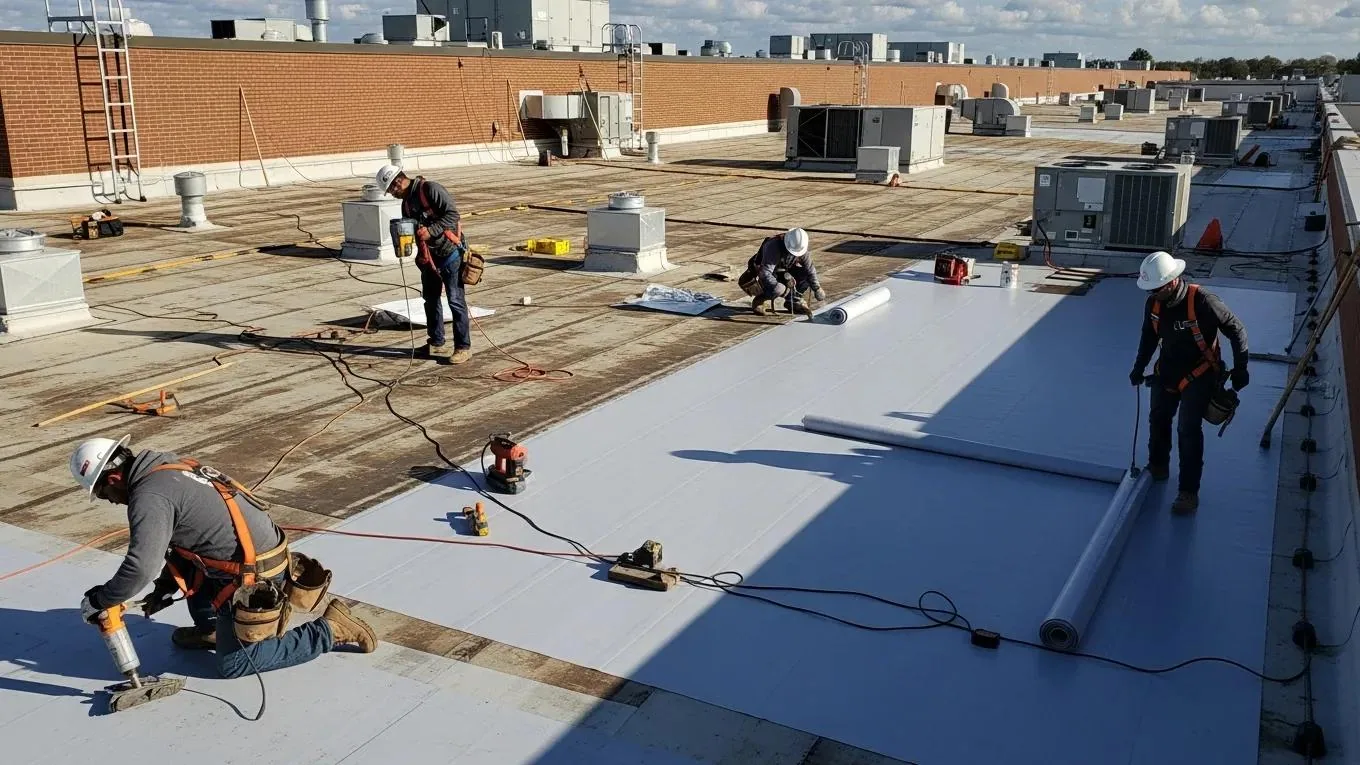
Commercial Roof Flashing Failure Repair
Talk to Commercial Roofing Westminster
Call 555-555-5555 or send a request and we will schedule a visit to look at the roof, explain what we find and lay out your options.